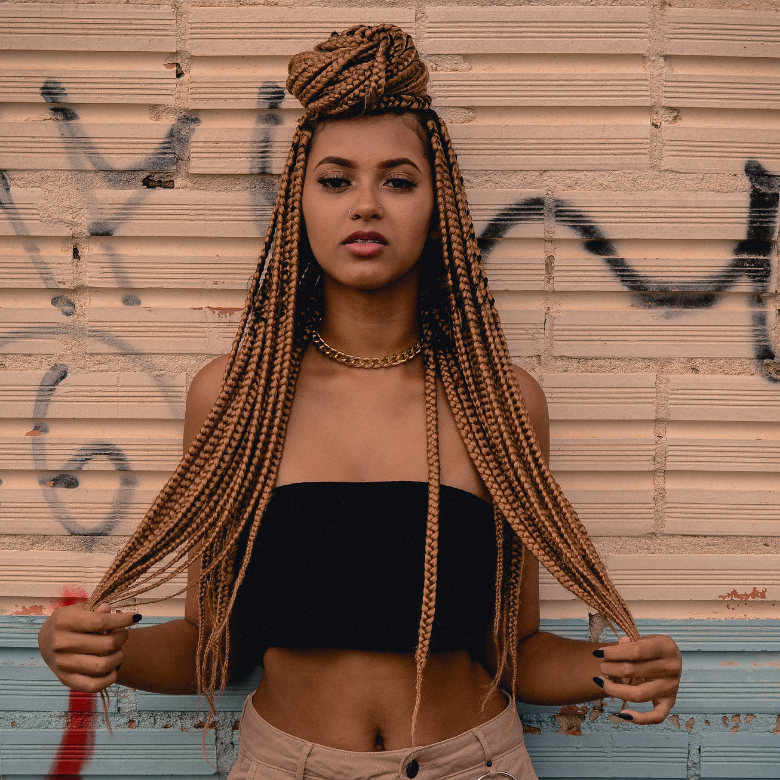
How To Do The 5 Common Heatless Curls Hairstyles
Switching up your natural curl pattern can be so easy
Hair | November 6, 2022
Instead of using a curling or flat iron to create some curls, why not style your hair and take it out?
The twistout, braidout, three-strand twistout, flat twistout, and Bantu knotout are all about styling your hair first. After that, it is time to undo that style to reveal some beautiful curls.
These hairstyles are often done on type 3 and 4 hair, but the flat twistout and Bantu knot out can be done on looser curl patterns.
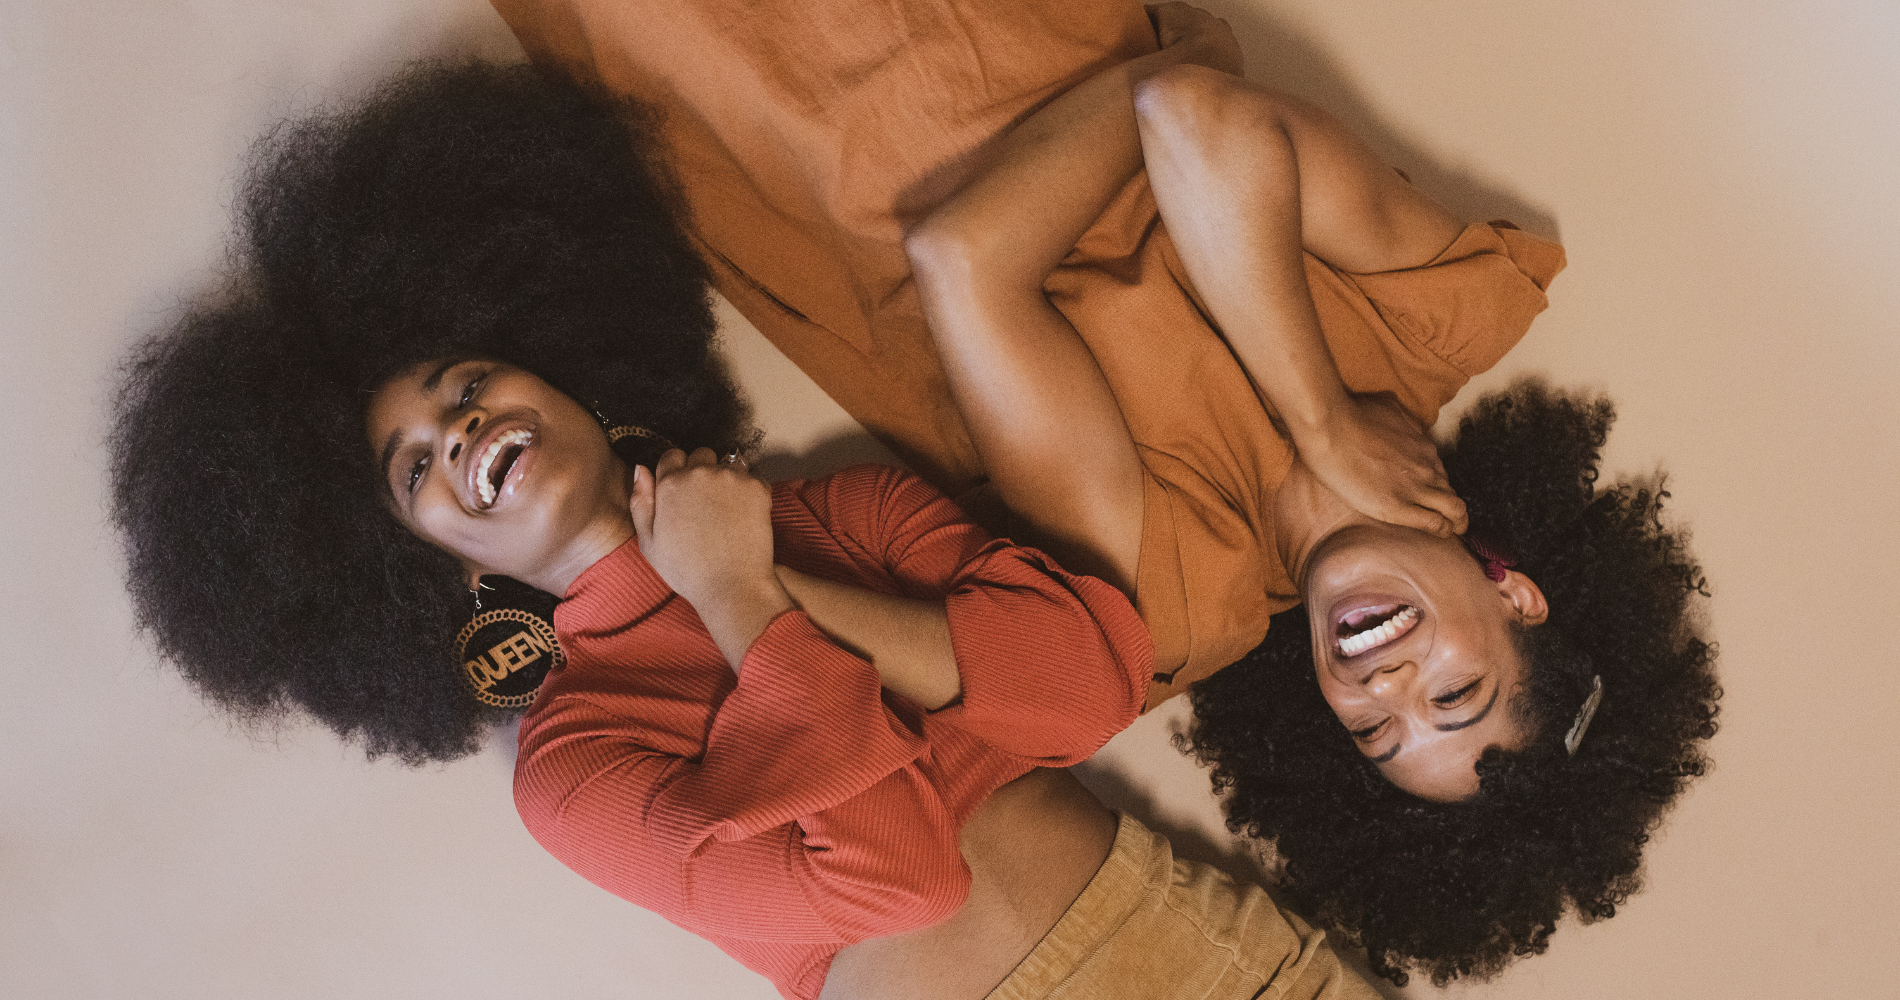
My favorite is the classic twistout, but after doing a braidout, I may change my mind. The curls looked defined, and my hair was nice and fluffy.
If you are trying to figure out how to do any of these hairstyles, then you can use the videos to see how to do it and read the steps for clarification.
Let’s get started!!!
Table of Contents
The 3 Steps Used For Each Hairstyle
- Start on freshly washed hair
- For length: Stretch your hair or blow dry it (optional)
- Moisturize every section using one of the following
- LOC
- LCO
- LOCS
- LCOS
Twistout
This hairstyle is called a twistout because it requires you to create a bunch of twists all over your hair, then take the twists out.
I would say out of all of these hairstyles, the twistout is the easiest one. It may be an easy hairstyle, but there are methods to help you achieve the best-looking twistout.
To avoid twisting your hair incorrectly, follow this video.
How To Create The Twist
- Grab a section of hair
- Split the section of hair into two sections
- Wrap one section of hair over the other section of hair
- Repeat step 3 until you have no more hair to twist
When all of the twists are dry, follow these steps
- Apply oil to your hands
- Gently untwist a twist
- Carefully separate the two sections of hair into four, if possible
- Repeat steps 2 and 3 for the rest of your twists
- (optional) Grab a hair pic and pic out your roots
Tip
Making your twists as neat as possible is the key to the perfect twistout. The goal is to go for a nice rope look.
Braidout
You should see this hairstyle as a two-in-one. To create a braidout, you will first need to create a bunch of braids which can be hairstyle number one. The second hairstyle will be when you take the braids out.
So, let’s make those curls!
How To Create The Braid
- Grab a section of hair
- Split the section of hair into three pieces
- Grab the right piece of hair and wrap it over the other two pieces of hair
- Repeat step 3 until you reach the end of the twist
- Create a wrap-around knot at the end of the braid
- Bring the ends of the hair up
- Cross the hair over to the left
- Wrap the hair around itself until there is no more hair sticking out
When all of the braids are dry, follow these steps
- Apply oil to your hands
- Pull down on the knot at the end of your braid
- Gently unravel the braid
- Carefully separate the three sections of hair into six if possible
- Repeat steps 2 – 4 for the rest of your braids
- (optional) Grab a hair pic and pic out your roots
Tip
Usually, there is not an even amount of hair at the end of the braid, so wrapping the ends around each other will give the braids and the braidout a nice look
Three Strand Twistout
When you combine the twistout and the braidout, you will get the three-strand twistout. It is similar to a braid because it requires three pieces of hair, but the difference is that these sections will be twisted around each other.
How To Create The Twist
- Grab a section of hair
- Split the section of hair into three parts
- Grab the right piece of hair and wrap it over the middle part
- Take the left piece of hair and wrap it over the middle part
- Repeat steps 2 and 3 until you reach the end of the twist
- Create a wrap-around knot at the end of the twist
- Bring the ends of the hair up
- Cross the hair over to the left
- Wrap the hair around itself until there is no more hair sticking out
When all of the twists are dry, follow these steps
- Apply oil to your hands
- Pull down on the knot at the end of your twist
- Gently unravel the twist
- Carefully separate the three sections of hair into six if possible
- Repeat steps 2 – 4 for the rest of your twists
- (optional) Grab a hair pic and pic out your roots
Tip
Creating a three-strand twist will feel weird at first, but remember it is a twist because you don’t want to mistakenly braid your hair
Flat Twistout
Flat twists make it easier for you when it comes to separating your hair.
Since you will be creating small sections as you flat twist your hair, you will no longer need to separate your hair. This is the absolute highlight of the hairstyle.
See for yourself.
How To Create The Flat Twist
- Part the hair by creating four large sections
- Part 1: front of the ear to front of ear
- Part 2: back of the ear to back of the ear
- Part 3: down the middle (or the side) and stop when you reach part 1
- Starting with the back section, part a smaller section of hair
- At the top of the section split the section into two sections of hair
- Take the right section of hair and wrap it over the left section of hair
- Pick up some hair and combine it with the right section of hair
- Wrap the right section of hair over the left
- Repeat steps 5 and 6 until you have no more hair to pick up
- Finish the flat twist by twisting the rest of the hair (follow twistout steps if needed)
When all of the flat twists are dry, follow these steps
- Apply oil to your hands
- Gently unravel all of the flat twists
- (optional) Grab a hair pic and pic out your roots
Tip
Try to pick up the same amount of hair each time so that all the curls are equal in size. For the best outcome, make sure the flat twist is close to your scalp.
To make the flat twist close to your scalp it is important to focus on how you grip your hair.
Bantu Knot Out
Another two-in-one hairstyle. You can have pretty Bantu knots and curls when you take the knots out.
How To Create The Bantu Knot
- Grab a section of hair
- Wrap the hair towards the left, going down the piece of hair about four times
- Bring the hair up
- Wrap the hair around itself until there is no more hair sticking out
When all of the Bantu knots are dry, follow these steps
- Apply oil to your hands
- loosen the knot by turning them to right
- When the knot is loose, twirl your hair down
- Gently separate the section of hair
- Repeat steps 2-4 for the rest of your Bantu knots
- (optional) Grab a hair pic and pic out your roots
Tip
Pay close attention to how you create the knot if you want a nice springy curl. Also, avoid making the Bantu knots too tight (loosen the knot if necessary).
When taking the knots out, try not to separate each section of hair no more than three times. It is easy to create frizz with this hairstyle.
If you create a little frizz while separating, you can twirl the hair around your finger.
Here are some extra tips that can be used on all 5 hairstyles:
- The bigger the sections of hair, the fluffier and less define the hair will be, and vice versa
- If the products you are using are not moisturizing your hair, then you will get dry, frizzy curls
- Makes sure your hair is 100% dry if you want the style to last
Depending on the weather, how you protect your hair at night, the products you use, and your daily activities: it can last up to a week.
With these hairstyles, you will want to protect your hair at night, and a blog post will be coming soon to show you how. So look out for that.
Extra Videos To Help You Out
Flat Twistout