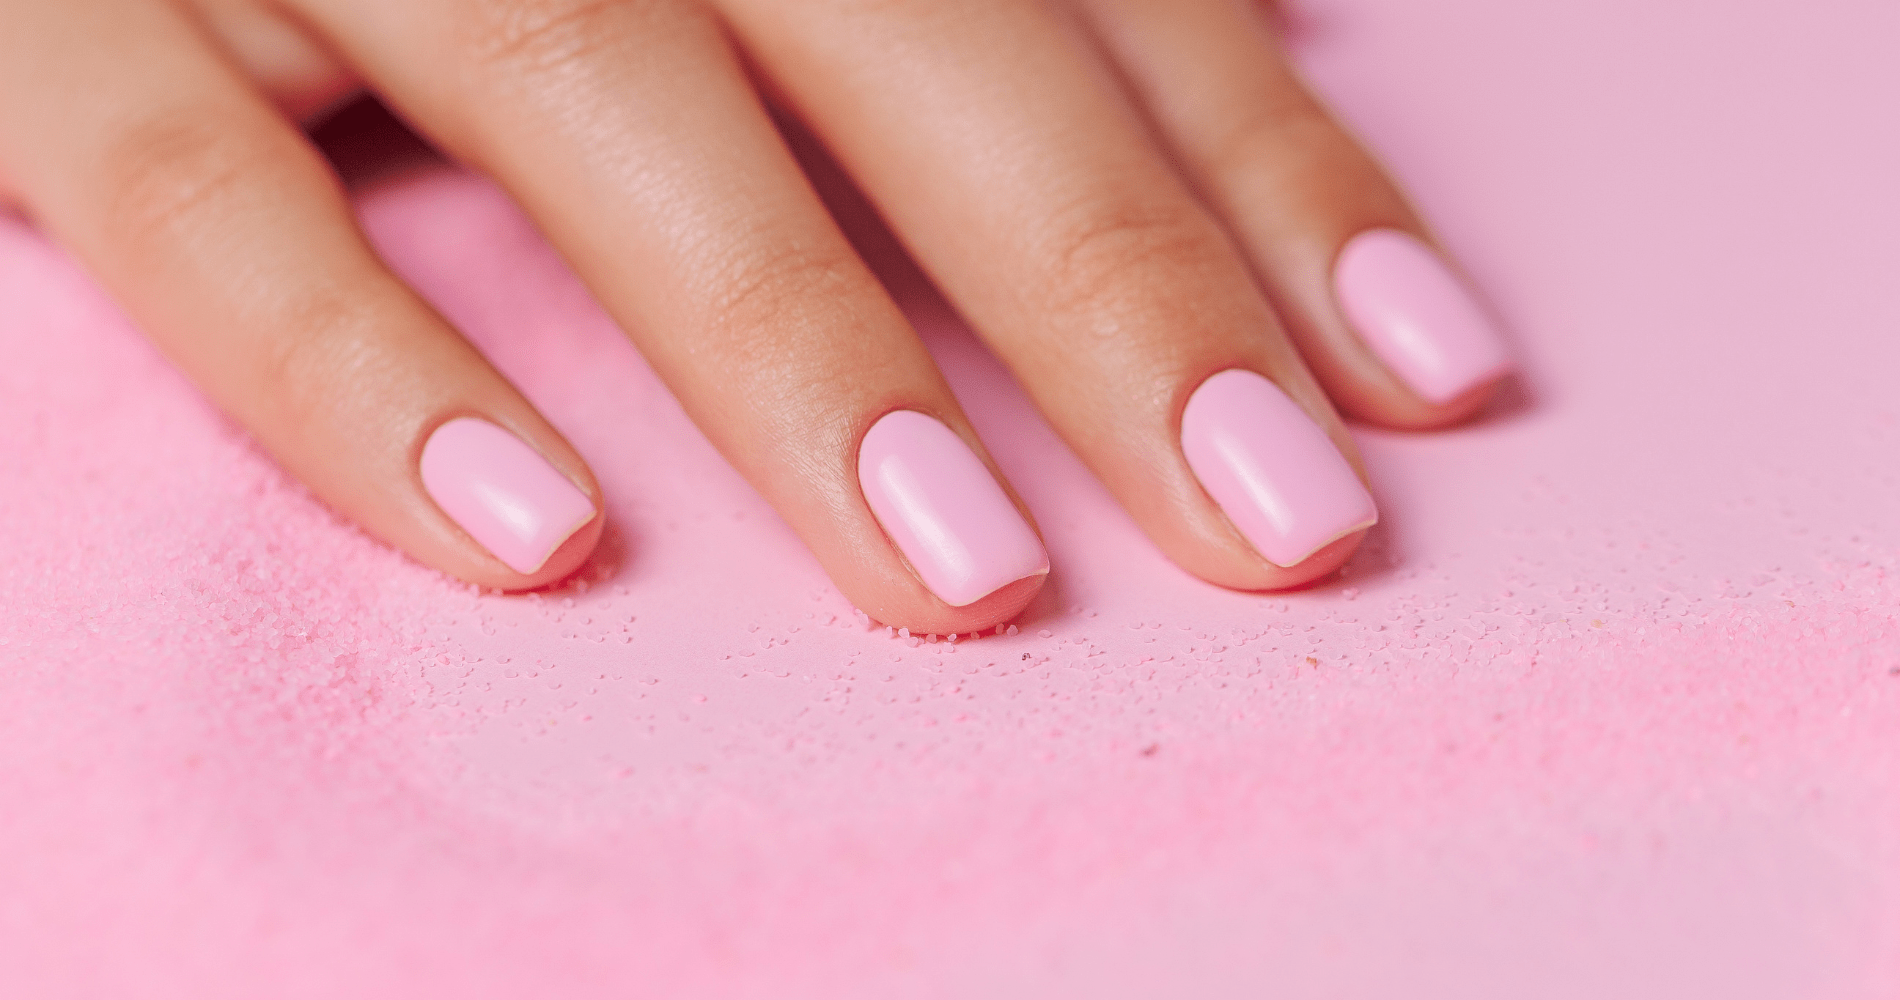
10 Tips That Helped Me Create The Perfect Gel Manicure
Valuable tips that helped me create salon-quality gel manicures
Nails | August 28, 2022
Is your gel manicure still looking wonky or not lasting as long as it should? These ten tips should help you see what you could be doing incorrectly or skipping entirely.
As someone who is not a professional nail technician, I have realized that applying gel nail polish the correct way; requires more technique or helpful tips. With these ten tips, you can use the videos and/or read what you may be doing wrong and how to correctly do it.
Table of Contents
- 1. Prep the Nails for an Artificial Enhancement
- 2. Use a Nail Surface Cleaner or Alcohol
- 3. Apply Thin Coats Away From The Skin
- 4. Pay Attention to the Flexibility of Your Nails
- 5. Be Mindful When Mixing Brands
- 6. Use A Gel Brush
- 7. Use A Small Nail Art Brush
- 8. Make Sure You Cure The Thumb Fully
- 9. Keep Your Hand Flat While Applying the Polish
- 10. Take Notice To The Temperature In The Room
1. Prep the Nails for an Artificial Enhancement
When prepping your nails, it is helpful to think of preparing to do an artificial enhancement, then just a regular manicure. A gel manicure is often not seen as an artificial enhancement but should be.
Gel polish is just like acrylic or hard gel. They need some texture for the product to last.
It’s easy to see gel polish as regular polish, but it is very different. If you don’t push back the cuticle and buff the nail, it will not last as long as it should.
So then, what would be the point of paying more for a gel polish if you could have used a cheaper regular polish for the same result?
The same could be said if you over-buff your nails. You will either damage your natural nails to the point where your nails will need to take a break from any enhancement. Or you give the nail polish nothing to stick to, and now the manicure won’t last as long.
You want to make sure you are not under or over-buffing your nails. Find the perfect middle ground. A drill at a low setting is the quickest and easiest way to texturize your nails. If you prefer a nail filer, I recommend using one with 100/100 grit.
Music: Mornings
Musician: Jeff Kaale
2. Use a Nail Surface Cleaner or Alcohol
Lightly brushing away the dust is not enough when you want to start with a clean surface. This is one of the mistakes I made before, and my nails would look bumpy or would not last because of it.
After brushing away the dust you caused from buffing the nail, you should follow with a nail surface cleaner or alcohol. This will ensure that your nails are free of any oils or dust.
3. Apply Thin Coats Away From The Skin
If you have unsteady hands or like to apply thick coats of nail polish, this tip is for you.
Applying the polish only on the nail and never having it touch the skin every time is honestly impossible. Even the pros make mistakes.
The difference is assuming that a tiny bit of polish on the skin is okay when it is not. Cured polish on the skin causes lifting and peeling. So, if your manicure is not lasting as long as it should, this could be why.
The same can be said if you are applying thick coats of polish. The difference is that thick coats do not cure fully, so the peeling and wrinkling will happen instantly, as you saw above.
As shown in the video below, swipe away the polish on one side of the brush. Then, tap the side of the brush with the polish on it one or two times.
Depending on the length of the nail, this method should give you the perfect amount of polish each time.
When applying the product to the nail, I find the “end with the cuticle” method the best. You can start at the free edge or the middle of the nail and drag the polish to the free edge.
After that, you want to push down on the brush and gently move towards the cuticle. Then move the brush in a curved motion to get to the corners of the cuticle area and move up slowly.
4. Pay Attention to the Flexibility of Your Nails
This tip is necessary, especially if you are doing everything else correctly and your manicure is still not lasting long. This is one tip that became a game changer in helping my manicure last longer than a week.
So, everybody can’t follow the same application process when applying gel polish because it doesn’t stick to everybody’s nails the same way.
Depending on how flexible the free edge of your nails is or if your nails have ridges, you may have to do things differently for a lasting manicure.
If you have thin (very bendy) nails, semi-thin (kind of bendy) nails, or nails with ridges, then your focus is to create a strong foundation first. You can do so by:
- Use an overlay of a hard gel
- Apply 2-3 coats of base coat
- Apply one coat of clear polish from a tub (this polish tends to be thicker than the base coat in the bottle)
My nails are semi-thin, and some are kind of bendy. When I didn’t create a strong foundation, the nail polish would chip within the first week despite me doing everything else correctly.
Tip: To make your nails even stronger or, if you don’t feel like creating that foundation, you can apply 2-3 coats of top coat. Apply one coat and cure for a few seconds, then apply another coat and cure the polish fully.
It is also important to consider alternatives such as dip powder if gel polish is not working for you.
5. Be Mindful When Mixing Brands
Sometimes it might not be what you’re doing but what you’re using. It is safe to assume that it could be the mixing of the different nail polish brands that are causing your nails to lift, bubble, or cure improperly.
This happens because each brand can be formulated slightly differently from the other. Resulting in different cure times, the number of coats needed for opacity, random skin and nail reactions, etc.
Unfortunately, you won’t know until you choose to use different brands together. If this happens, try using the same line of gel polishes or a different combo and never combine the products again.
6. Use A Gel Brush (Optional)
This tip is for those that like a thin look. It is a helpful tip but not necessary.
When it comes to gel polish from a bottle, the brush tends to be thicker than a gel brush.
So, if you are trying to achieve a thin gel manicure, you should consider buying one. If you use a gel brush, you may need to apply more coats to reach the opacity you want.
7. Use A Small Nail Art Brush (Optional)
Another optional but helpful tip for those struggling with not getting the polish on their skin.
Getting close to the cuticle can be difficult, so a small nail art brush will make it easier to reach that area.
Also, this brush can give you better access to painting the sidewalls of the nails and help you paint the sides of the free edge too.
8. Make Sure You Cure The Thumb Fully
Maybe your thumb is the first finger to start peeling. If that is the case, you should try to position your nail differently to ensure that the whole nail is cured.
You can try one of these five methods.
- Closed Fist
- Turned Flat Hand
- Hand Tilt
- Bent Thumb
- Use a Portable light
Play around with these methods to see which one feels the most comfortable for you. Now, your whole thumb will be fully cured.
9. Keep Your Hand Flat While Applying the Polish
If you see that one side may be thicker than the others, you may need to change how you apply your polish.
If you keep your nails facing down, the thickest spot will be the tip of the nail. This will show a drip mark.
Maybe when you are doing your thumbnail after you did the other four, you notice that the polish moved to the side of the nail.
These situations usually happen because you are not paying attention to how you are resting uncured nails and the current temperature of the room, which I will talk about next.
Try to keep your fingers flat when you move on to paint the next nail. You may need to figure out how many you want to paint and cure at once.
I prefer to do the thumb separately, but you could do one – three nails at a time.
Sometimes speed isn’t your friend when it causes your manicure to turn out weird.
10. Take Notice To The Temperature In The Room
Not only does the gel polish move when you tilt your fingers, but the temperature of where you are doing your nails can also affect how much the polish moves.
When it is warm, gel polish moves more compared to when it is cold, so you may need to do two nails at a time to avoid the polish dripping to one side.
Out of all of these tips, I would say that tips one, three, and five are the most important.
Not using these three tips is the main reason why my manicures did not last long or look good. Maybe you will learn from my mistakes and be able to create that perfect manicure much faster.
I would love to know which tips have helped you. So DM me on Instagram (insert link) to let me know.
Also, heads up on this gel manicure series. Lookout for the next post to show you how I remove my gel manicure.